Are you planning to sell your home soon? It’s more important than ever to market your home correctly in today’s digital world. One of the best ways to successfully market your home is to utilize professional photographs in your listing. Hiring an experienced real estate photographer will help potential buyers visualize what it would be like to live in your home. Using quality photos can make your listing stand out and attract the right buyers. If you are unsure where to start, keep reading for Zillow-approved tips when professionally photographing a home.
Prepare your home before you photograph
Before a professional photographer enters your home, you should prepare your space. For instance, you will want to ensure that your children or pets are being taken care of elsewhere. Not only will this free up all the space for the photographer, but it will also allow you to be present throughout the process. Additionally, you should have your home cleaned. Nothing is worse than noticing water stains on your window or dust behind your console table! Tidy up your home and consider hiring a professional cleaner to help you get the job done.
Stage your home
You want to show off your space, not your personal belongings. Ensure your home is free of distracting items like toys or refrigerator magnets before photographing your space. Additionally, if you have the budget, you can hire a professional real estate stager to help re-design your home for a picture-perfect listing. Home staging can highlight the functionality of each space and create the illusion of a lived-in home. A home stager will help fill the design gaps of your home with with excellent features. Your Sea Cliff real estate will look incredible in no time!
Research professional photographers in your area

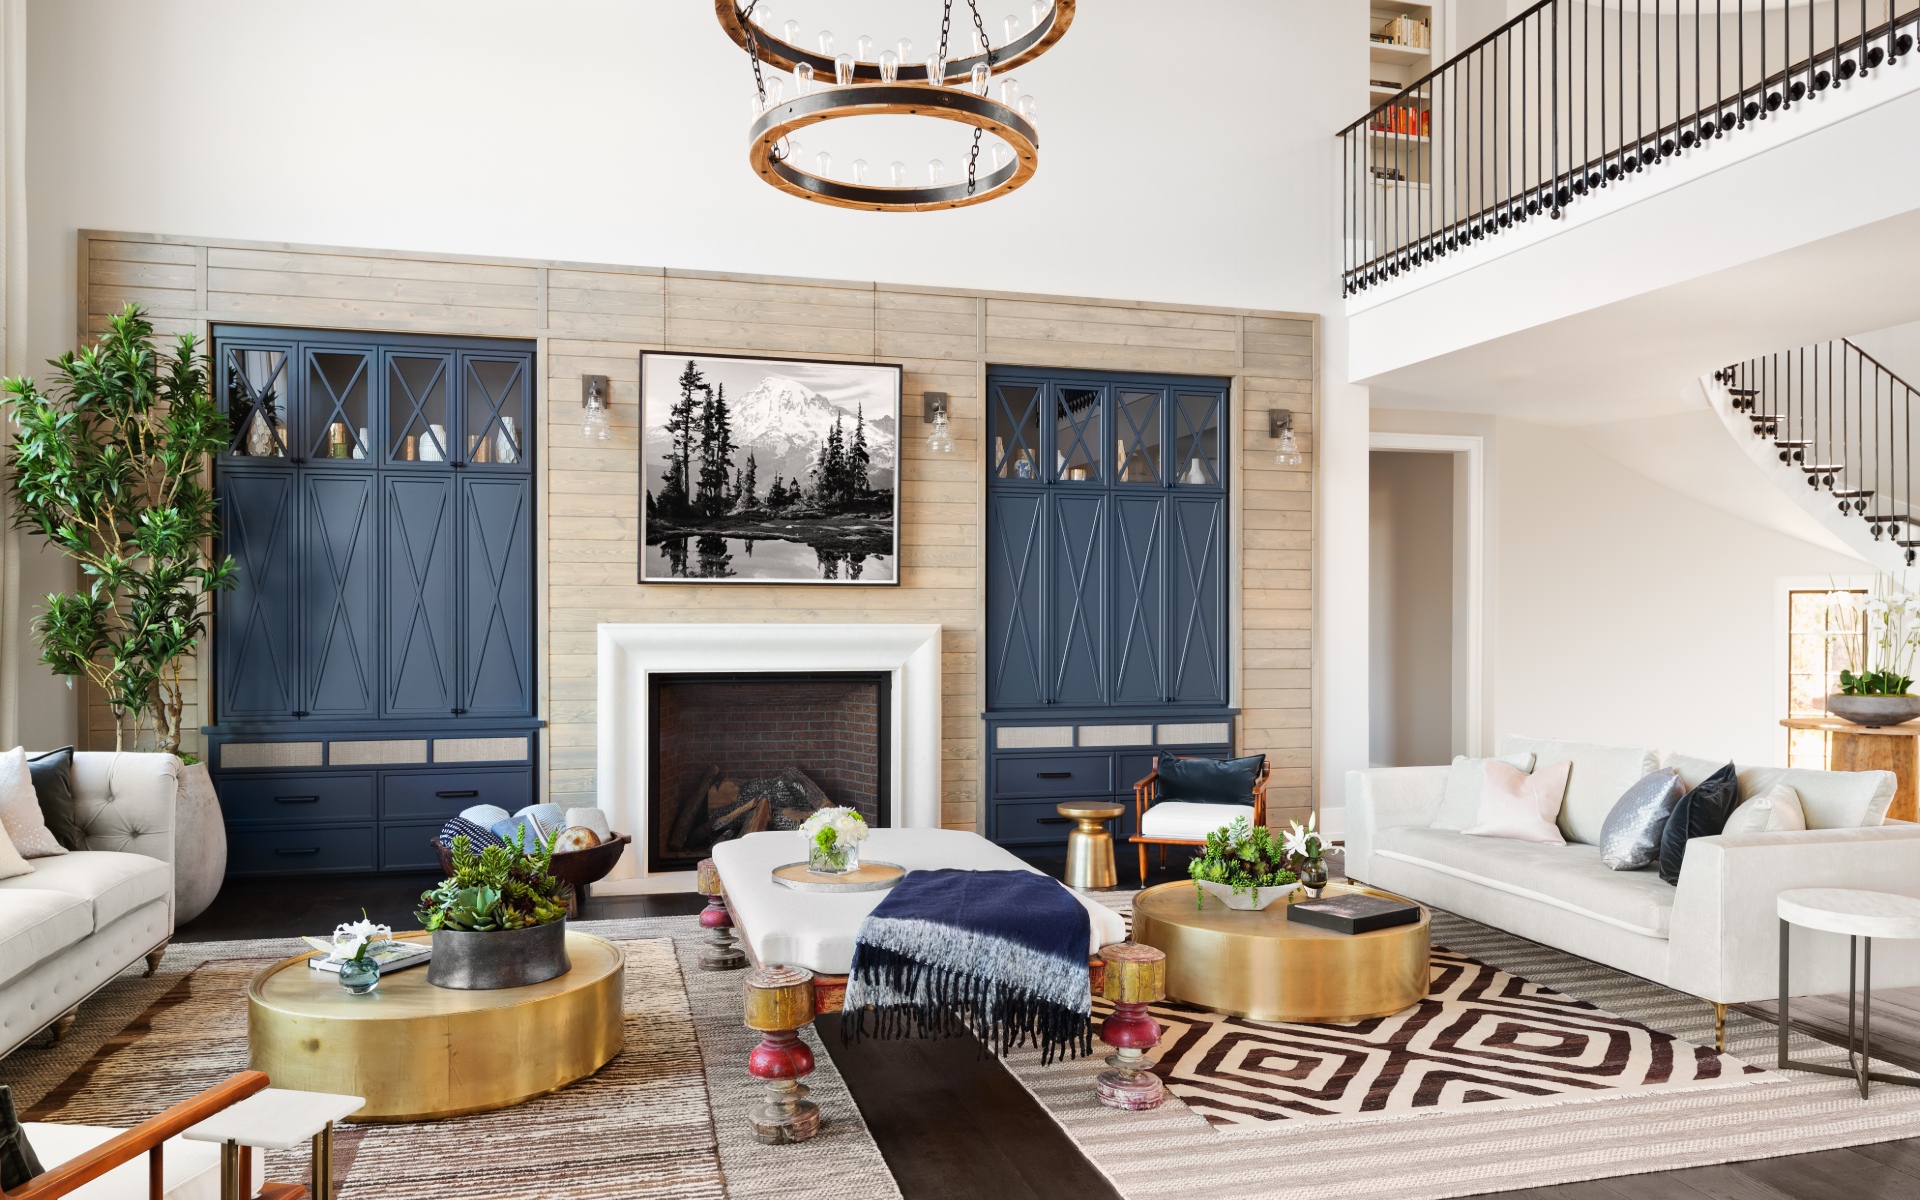
Photo courtesy of Unsplash
In business, it is always beneficial to research before making a big decision. If you have never worked with a professional photographer, consider taking some time to browse your options. Ask friends or family in your area to find out if they have any good recommendations for photographing your Sea Cliff house. Otherwise, a quick Google search can allow you to survey your options and find someone who fits your needs.
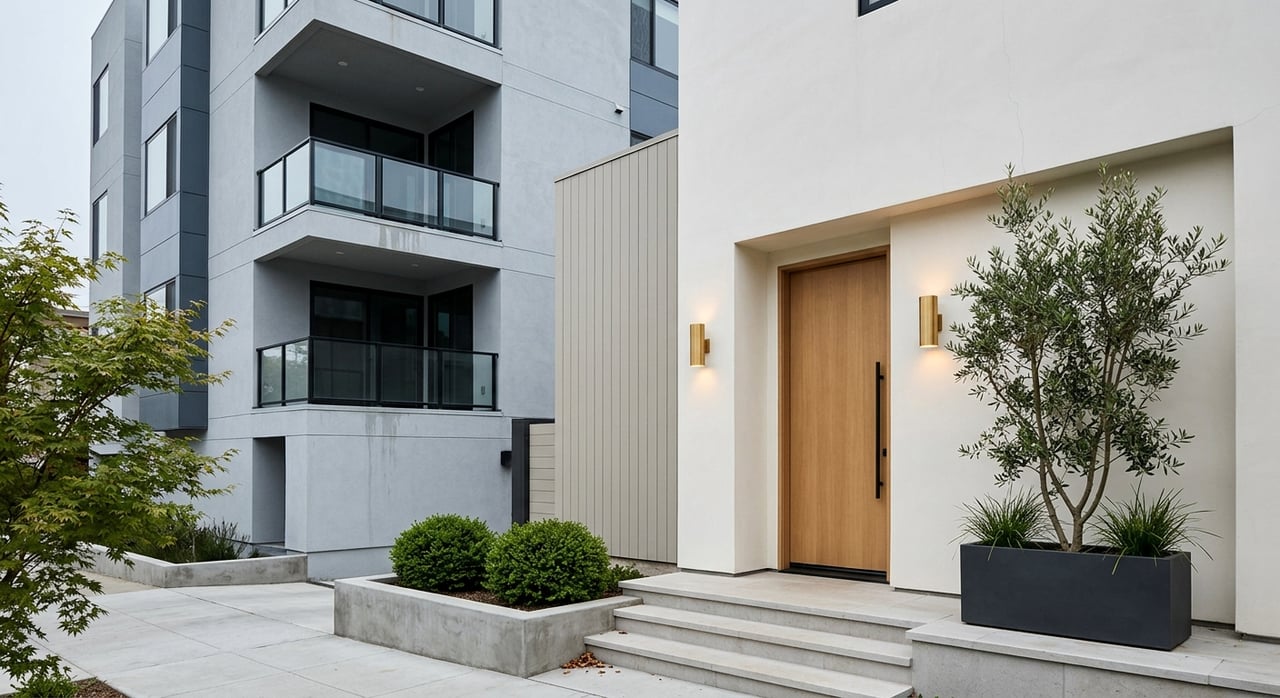
Use as much natural lighting as possible
Open the curtains and turn on all the lights to make a room look as bright as possible. Avoid taking photos at night or during sunset– as it creates unattractive shadows or glares. If you are questioning what time of day you should photograph, whoever you hire should be able to give you advice. For the exterior of your house, avoid rainy days or super sunny days, where the weather could interfere with a good shot.
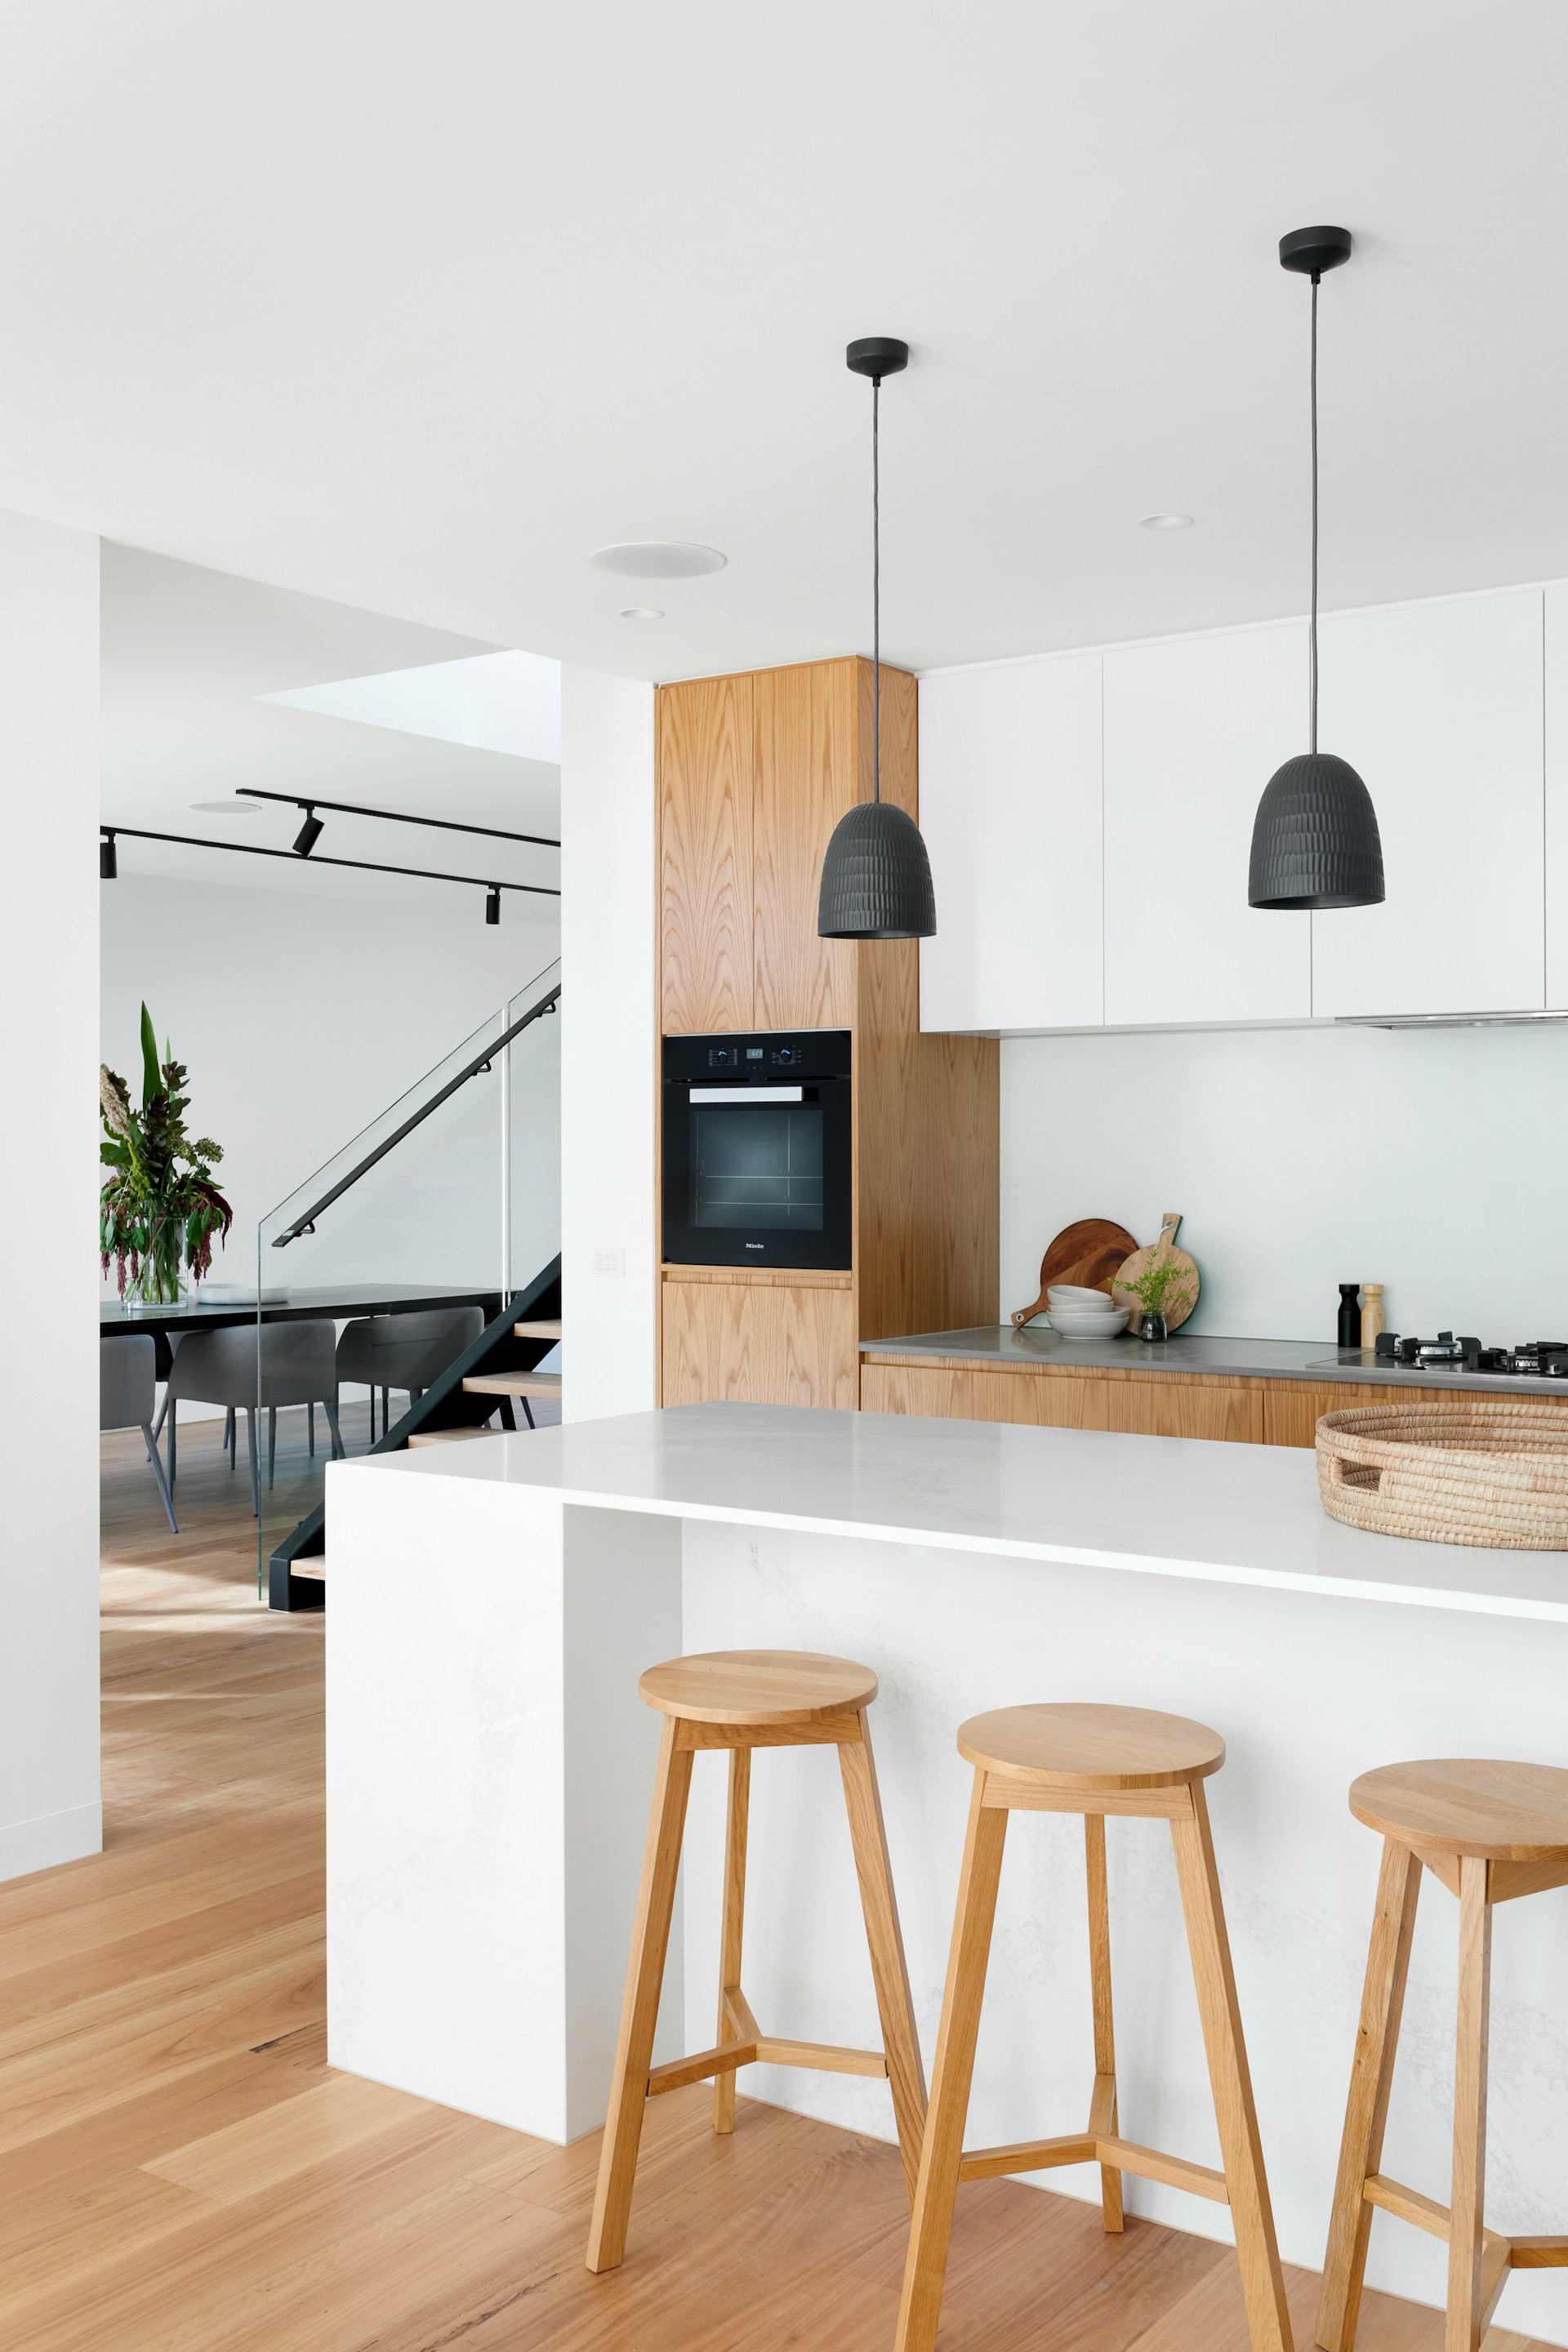
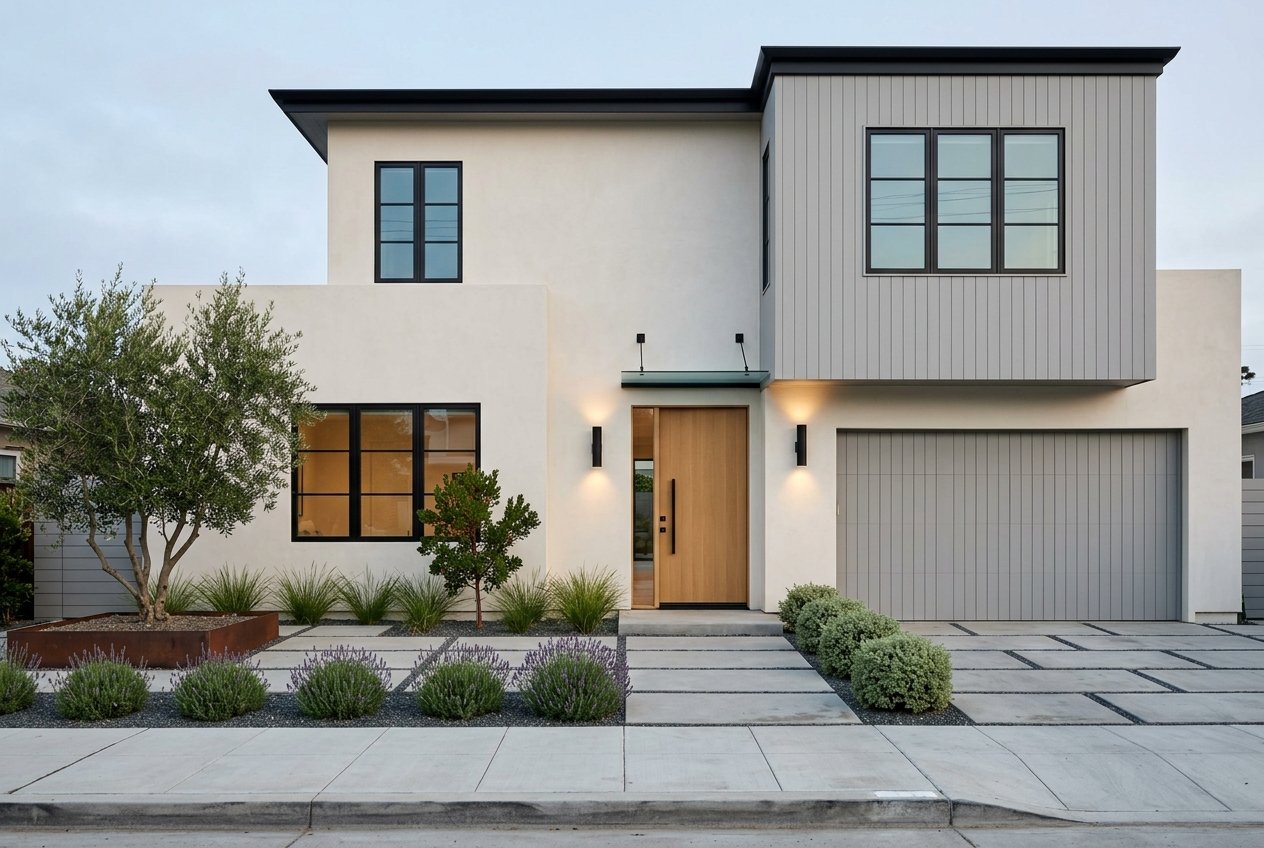
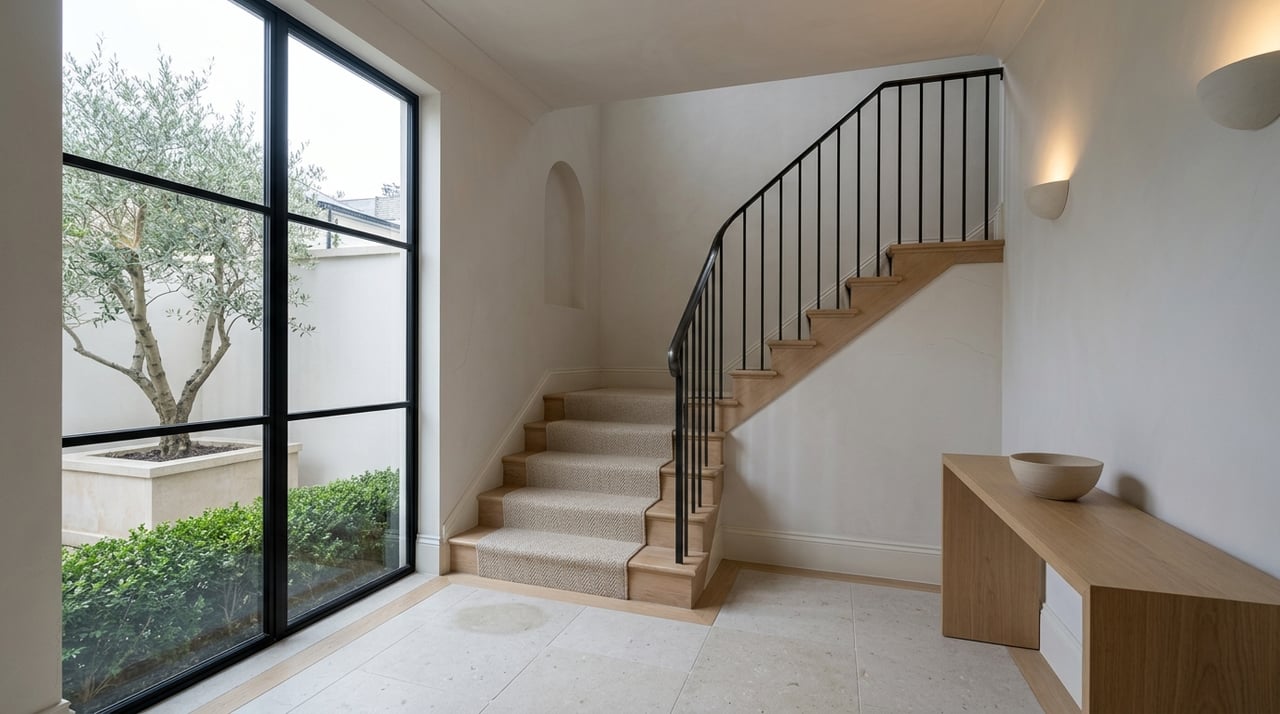
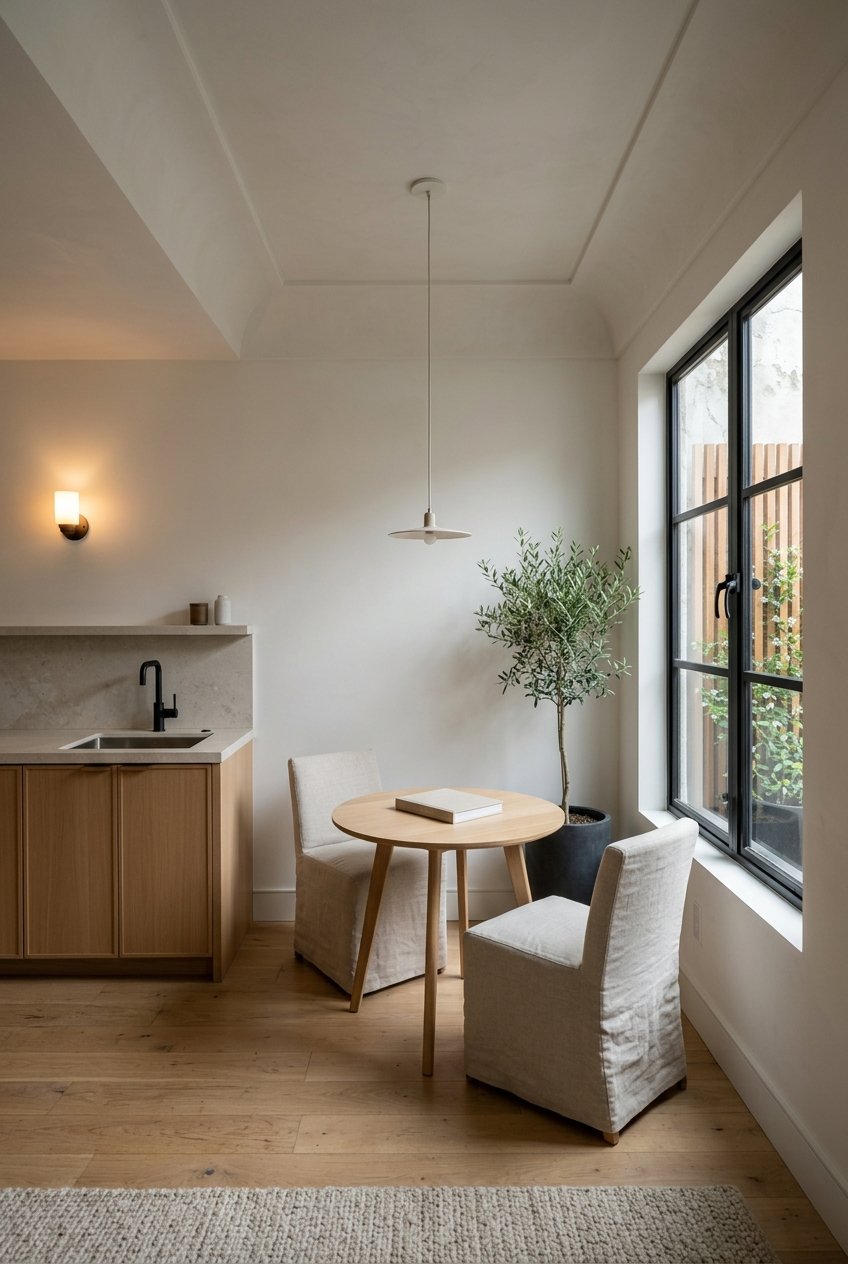
Identify the selling points
Whether a room offers expansive windows or features a beautiful accent wall, quality real estate photography should showcase all of your home’s selling points. Identify the selling point in each space before photographing your home so you can ensure they are highlighted correctly.
Take a lot of photos
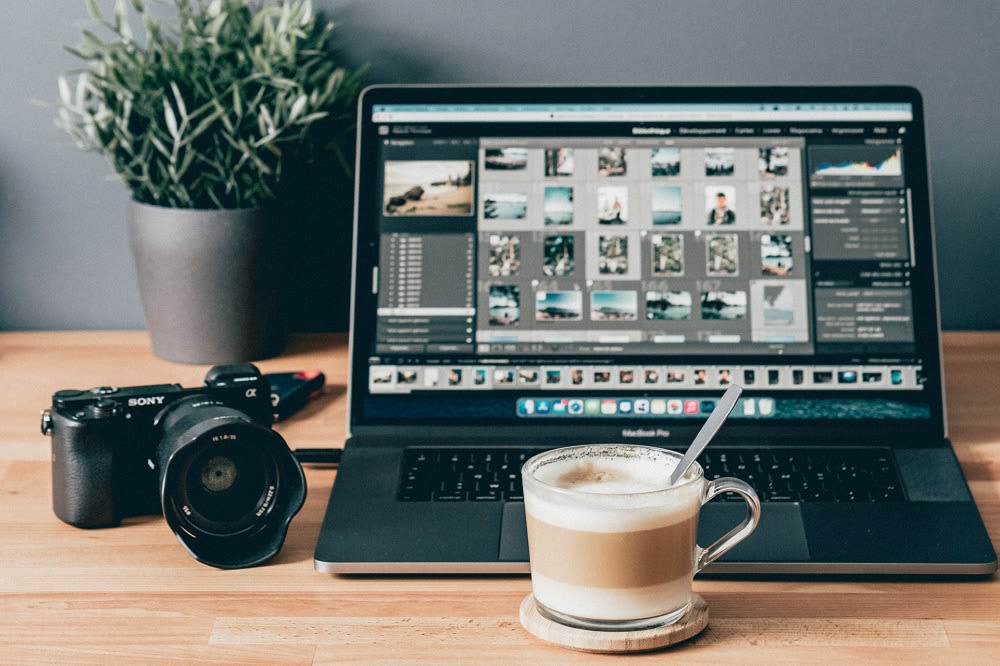
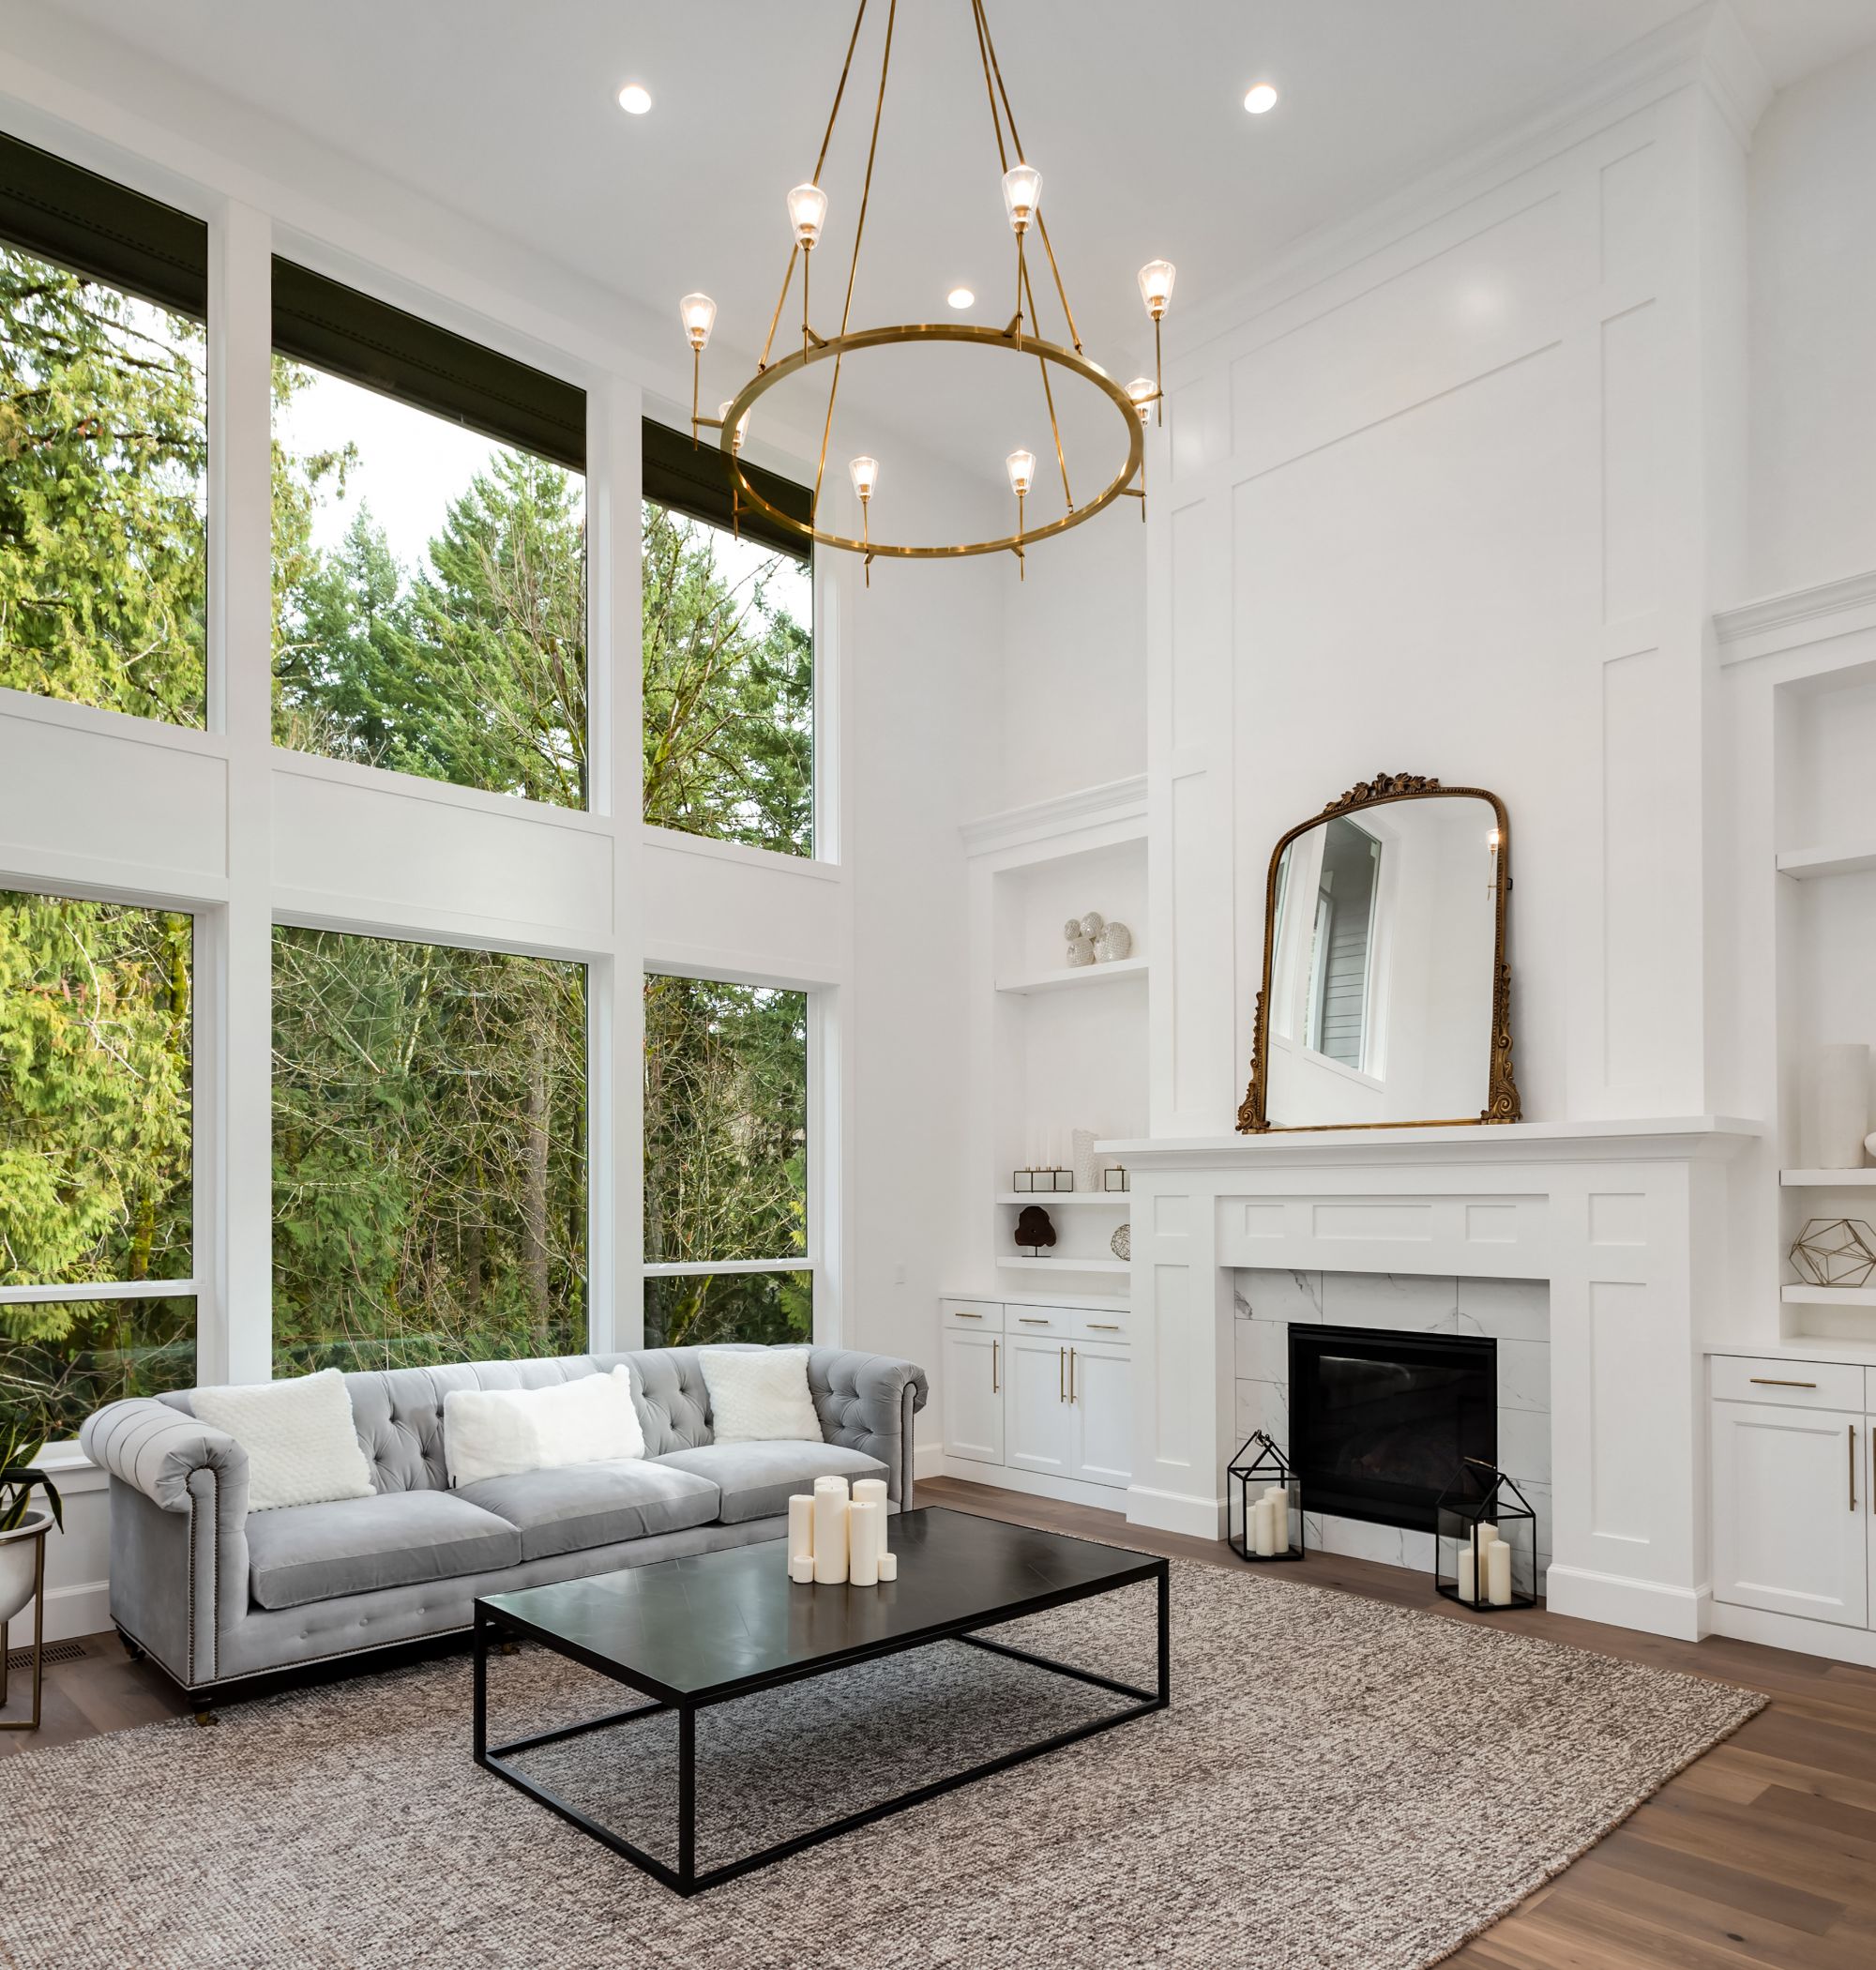
Photo courtesy of Unsplash
Although you will only need about twenty photos for your listing, you will want to exceed that number to have a good selection of shots. You want the very best images from the photography session, and if you have five or more photos for each room, you will quickly realize how beneficial it is. When editing, your photographer can edit some pictures easier than others. Therefore, reiterate the importance of having plenty of photos when you see your photographer.
Add a pop of color
Although most professionals in the industry agree that you should stick to neutral colors when staging to appeal to a wide range of buyers, this doesn’t mean you should eliminate color completely. Look for places where a pop of color can benefit the space. For instance, fresh flowers, a cozy blanket, or a throw pillow can all subtly add color to a room. Adding color doesn’t have to mean buying a yellow chair; it can be a small accent piece or decor that makes the room look more fun and inviting.
Watch the composition
The best height to take photographs is often up for debate. In general, photographers will say it is best to take pictures from a chest-height level or a height that best suits the room. Overall, the goal is to make the photo look balanced with floor to ceiling ratio. There should be no dead space, and the final picture should look clean and balanced. Shooting from the correct angles is key in real estate photography and can make a world of difference.
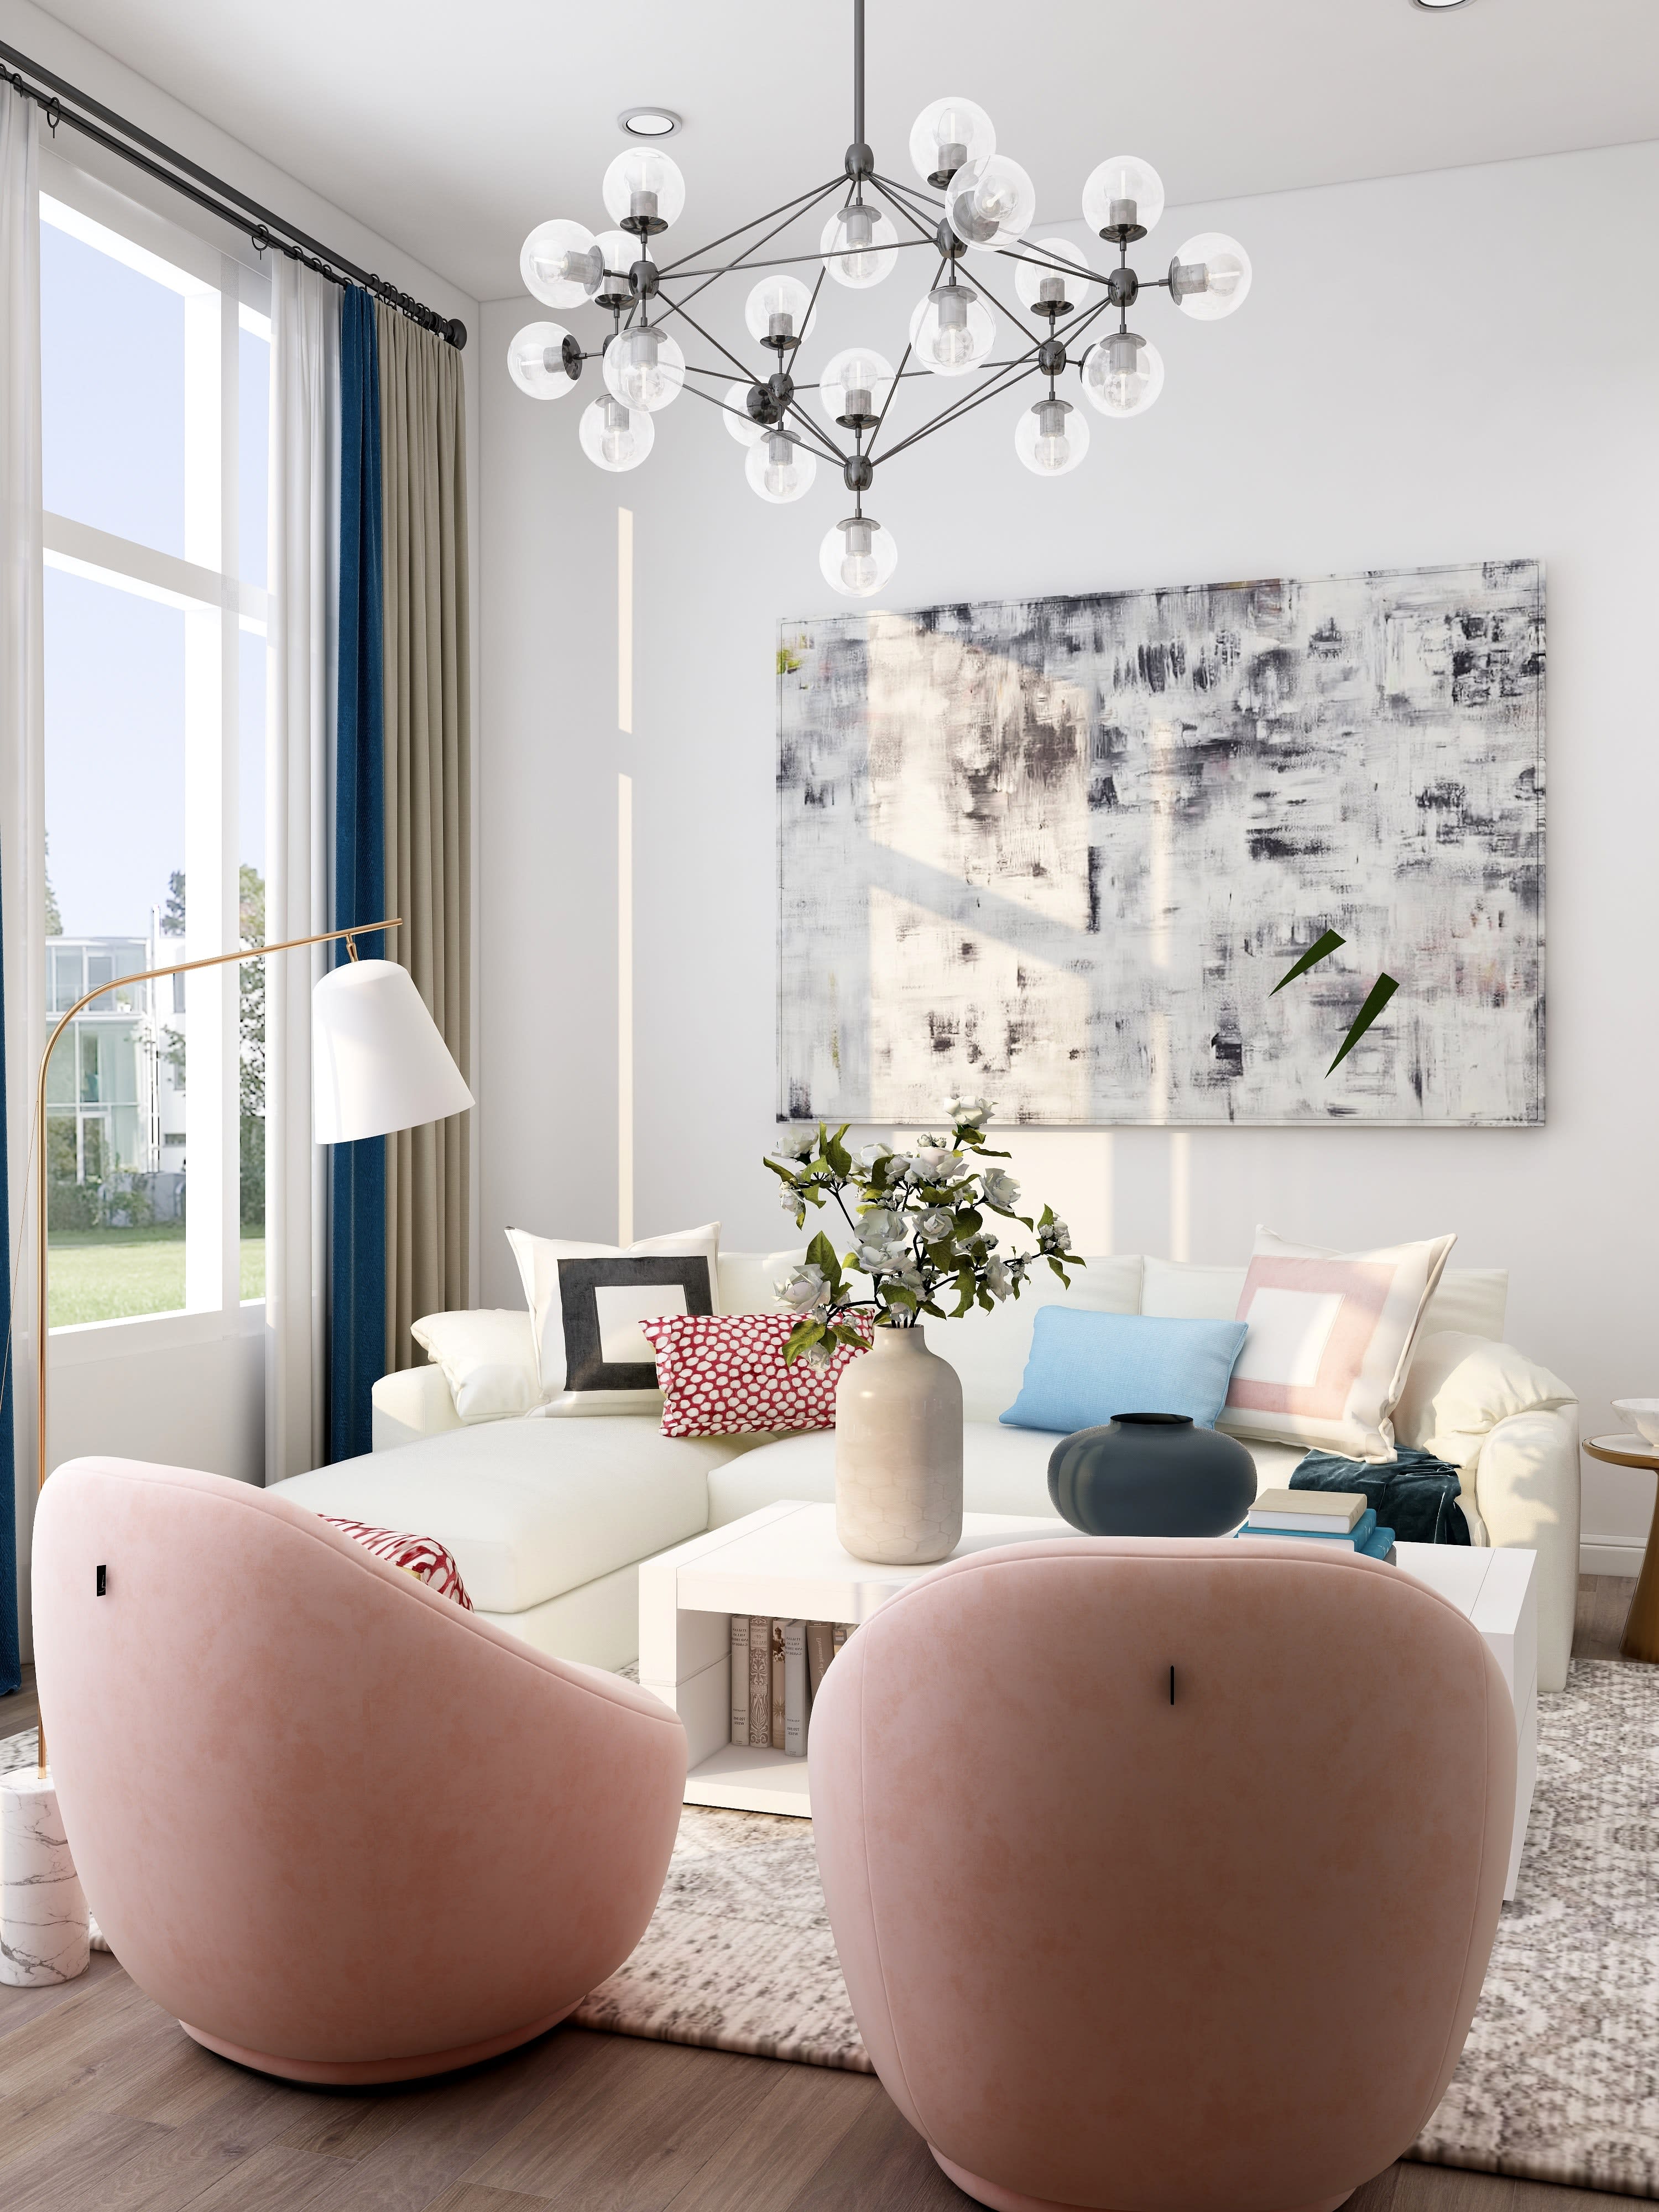
Make the final listing stand out

Photo courtesy of Shutterstock
Once you notify your real estate agent that you are ready to post the photos, they will want to double-check the final product. Most will agree that you need a quality photo from each room and at least one exterior photo. Finalize your listing with a good description using popular keywords. Highlight the neighborhood, schools, or your favorite shopping center down the road. Although the listing is primarily visual, you still want to emphasize what makes your home special.
If you need help through the listing process, reach out to Beverly Barnett, who will elevate your marketing strategy. With her expertise in the Sea Cliff area real estate, she will sell your home in no time!
*Header photo courtesy of Shutterstock